Nothing is better than a fresh piece of homemade bread filled with garlic butter and herbs. Homemade garlic bread is much better than store-bought bread. It's fresh, moist, tender, and warm.
A bit of history
Garlic bread originated from Italy and is called "bruschetta," which means bread toasted over coal. The thick piece of bread is drizzled with olive oil and is rubbed with garlic cloves to create a subtle garlic taste. However, the garlic bread we see in most restaurants and stores is garlic bread made with butter and not olive oil. So, where did that come from?
When Italians immigrated to the US, they brought with them the idea of garlic bread. However, back then, olive oil was not easy to find, and hence they used butter instead of olive oil to make garlic bread.
Nowadays, there are many versions of garlic bread out there. You have baguette garlic bread which is usually served with pasta and spaghetti. Furthermore, you have the pull-apart garlic bread, which I believe came into existence only recently.
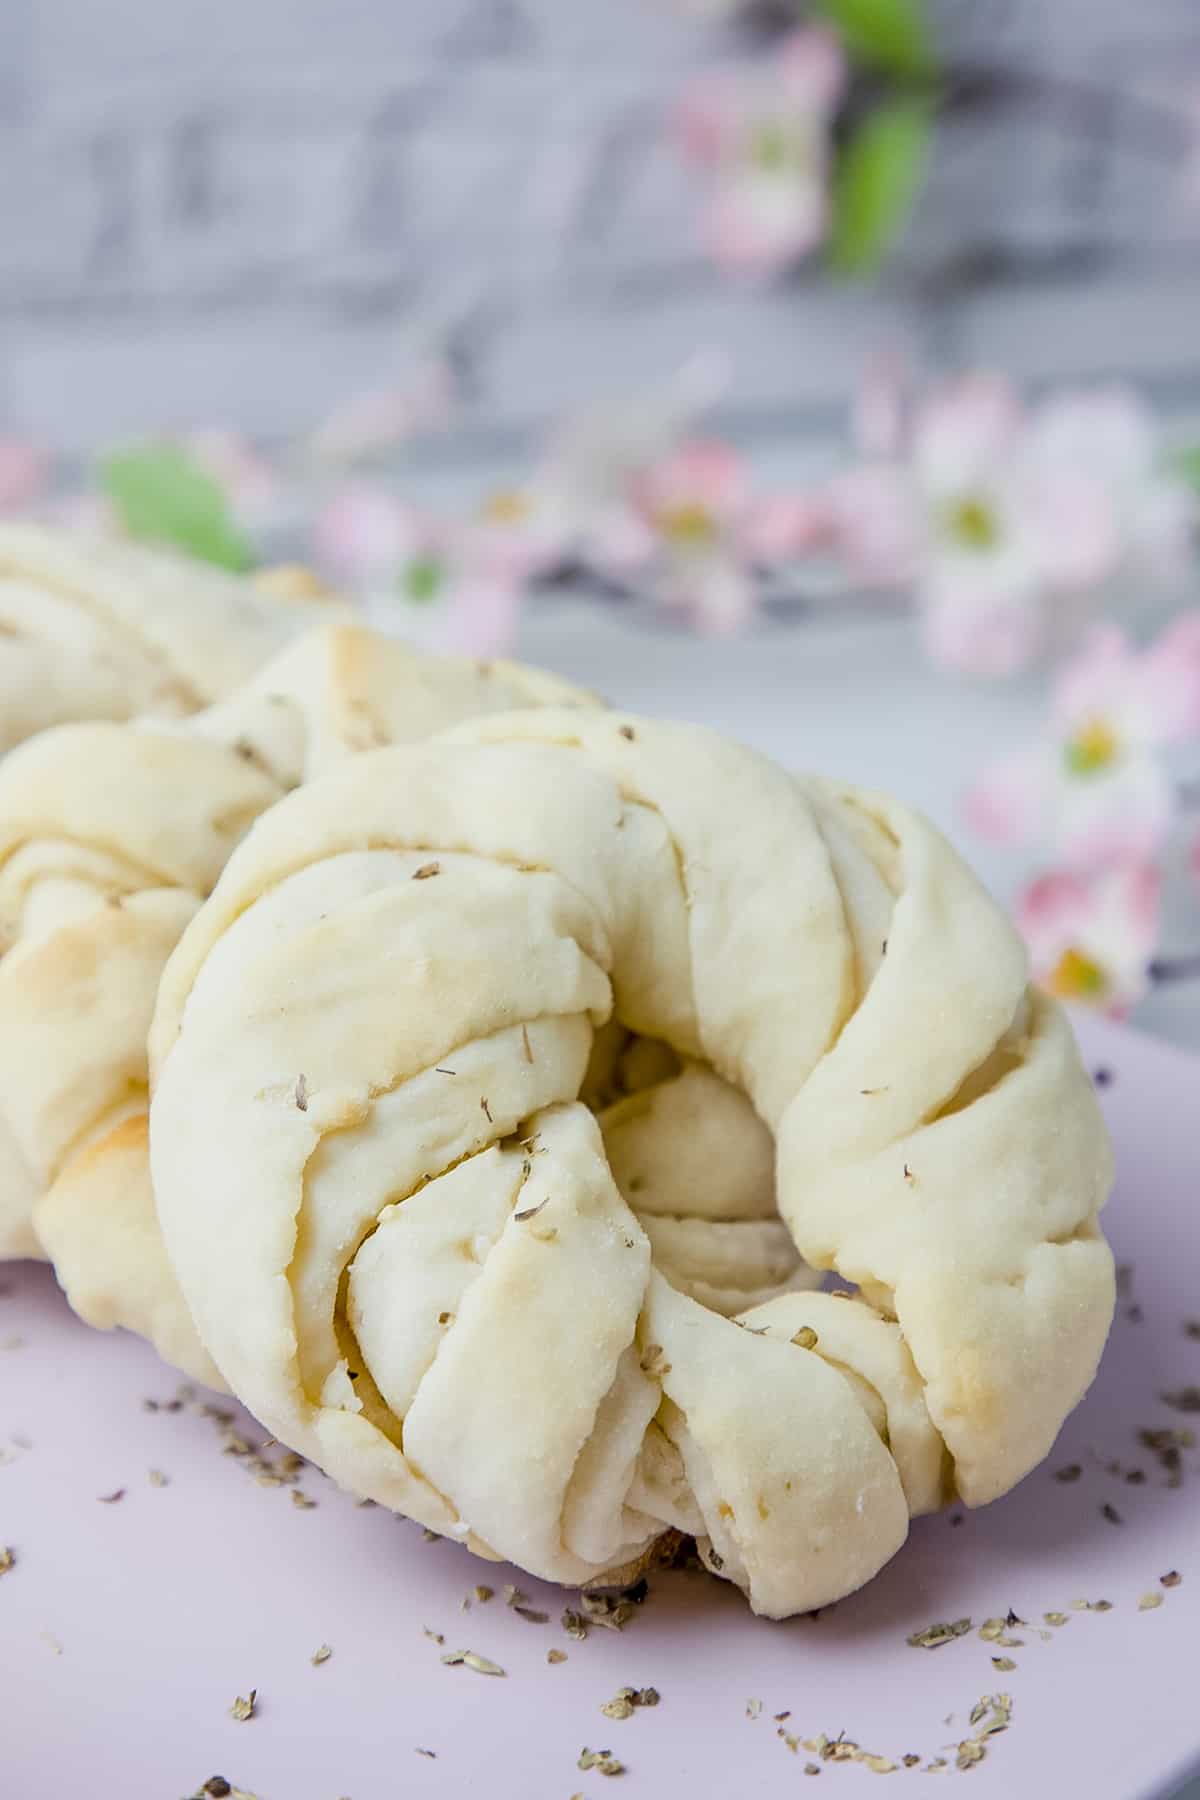
Personally, I'm a big fan of garlic bread knots. So we will be making something similar, but we are shaping the dough into a flower.
How to make gluten-free homemade garlic bread?
There are a lot of recipes for homemade garlic bread. This recipe, in particular, is inspired by Savor Easy Beautiful Garlic Bread. Their bread recipe is fluffy, and I wanted to adapt it and make it gluten-free.
Ingredients
To make gluten-free garlic bread, the following ingredients are needed:
- White Rice flour, Tapioca Flour, Potato Starch, Brown Rice Flour: This will be used as the flour combination to make this bread recipe. Potato starch makes the bread soft and tender.
- Full-Fat Milk: provides the bread with moisture and flavor.
- 1 Egg
- Granulated Sugar
- Instant Active Yeast
- Salt
- Baking Powder
- Apple Cider Vinegar
- Xanthan Gum
- Unsalted butter at room temperature
To make the garlic bread butter, the following ingredients are needed:
- Unsalted Butter at room temperature
- Three Garlic Cloves (Minced): You can use 1 ½ teaspoon of garlic powder instead.
- 1 teaspoon of Oregano / Parsley: This is optional.
Making the Dough
Before making the dough, it is essential to check if the yeast is active and alive. To do that, heat the milk to 49 Degree Celsius, add the sugar, yeast and gently stir. Then cover the mixture and set it aside for 10 minutes. If the mixture bubbles, it means that the yeast is alive. Otherwise, redo this step with new yeast.
Now that we know our yeast is good to go, we can start making the dough. In a separate bowl, using a whisk, combine the white rice flour, tapioca flour, potato starch, brown rice flour, salt, baking powder, and xanthan gum. Then add in the egg, apple cider vinegar, and yeast mixture.
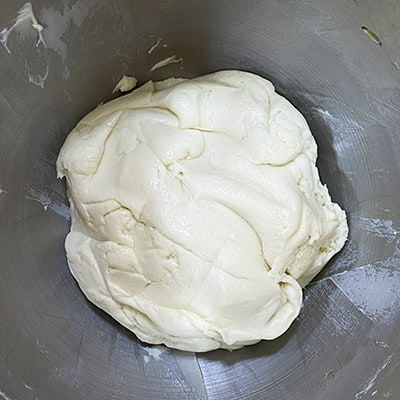
At this stage, it is best to use an electric mixer to mix the ingredients, or you can knead the dough by hand. I used a stand-alone mixer with the paddle attachment to beat the dough for 1 minute. Now it's time to put in the butter. Add the butter inside the dough and beat the dough. The dough should look smooth and feel sticky. This is how it looked like before and after adding the butter. Adding the butter at the end, just like when we make Japanese Bread helps make the bread tender, easier to handle, and shape.

Next, form the dough into one big ball as seen below, move it to a greased bowl and cover it. Let the dough rise in a warm place for about 2 hours.
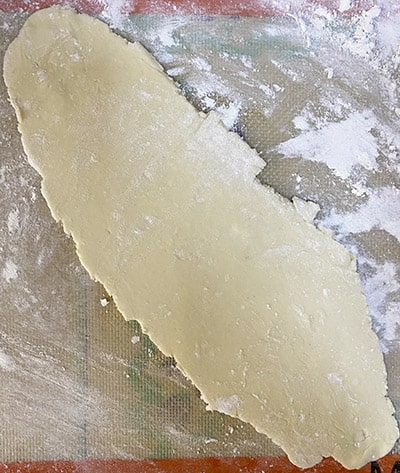
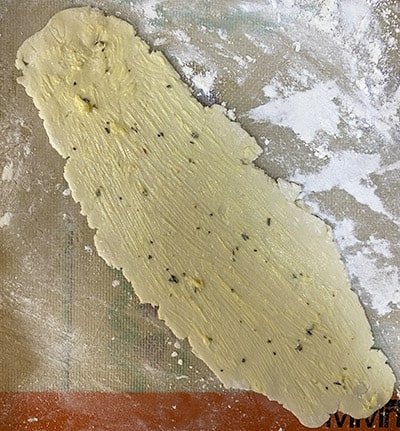
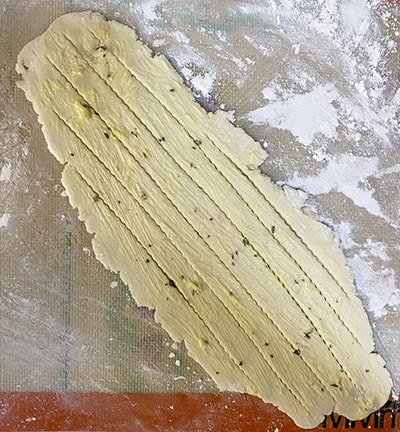
Divide the dough into 8 equal balls. For me, each ball weighed 100 grams. Next, roll the dough using a rolling pin to look like a stretched oval, as seen below. Then using a brush, brush the dough with garlic butter.
Now, using a pizza cutter or a knife, create equal stripes in the flattened dough, making sure not to get too close to the edges, as seen below:
Then slowly start rolling the dough from the left lower corner until the whole dough is rolled.
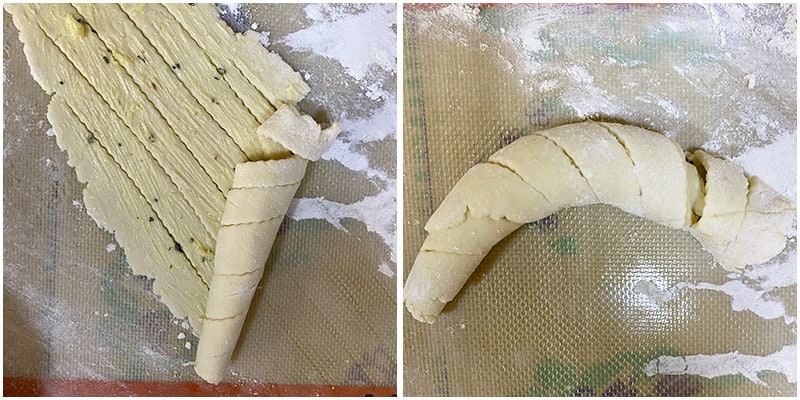
Now close the two ends of the rolled dough.
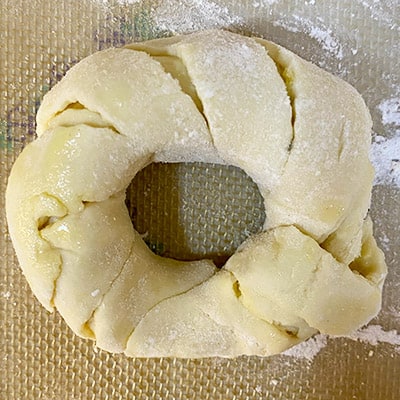
Repeat until you have about 8 garlic bread flowers.
Move your garlic bread flower to a non-stick baking pan and brush each flower with olive oil. Cover the garlic bread with a clean tea towel and allow them to rest for 20 minutes. While the garlic bread rests, preheat the oven to 180℃.
Garlic Bread Cook Time
After shaping and resting the dough, it is time to bake our garlic bread. Garlic bread cook time is approximately 20-25 minutes. However, garlic bread cook time is dependent on the oven and size of garlic bread flowers. The ones I made were 100 grams each. To accurately know if the garlic bread is cooked, check the temperature of the bread after 15 minutes. If the temperature is 87℃, then the bread is cooked; anything less than that means the bread is not done. Anything above 87℃ means the bread is overdone and can be dry.
Homemade Garlic Bread
Ingredients
Garlic Butter Paste
- 110 grams of Unsalted Butter at Room Temperature
- 3 cloves of Garlic Minced
- 1 teaspoon of dried Parsley or Oregano Optional
Garlic Bread
- 300 ml of Full-Fat Milk at 49-55°C
- 50 grams of Granulated Sugar
- 7 grams of Yeast
- 205 grams of White Rice Flour
- 82 grams of Tapioca Flour
- 41 grams of Potato Starch
- 82 grams of Brown Rice Flour
- 1 ½ teaspoon of Salt
- ½ teaspoon of Baking Powder
- 2 teaspoon of Xanthan Gum
- 1 Egg
- 1 teaspoon of Apple Cider Vinegar
- 55 grams of Unsalted Butter at room temperature
Instructions
Garlic Butter Paste
- Combine the butter, minced garlic, and herbs in a bowl and set it aside.
Garlic Bread
- First, in a bowl, combine the milk, sugar, yeast and mix gently. Cover the bowl and set it aside for 10 minutes. If the mixture bubbles, it means the yeast is active. If the mixture doesn't bubble, then repeat this step with new yeast.
- In a separate bowl, whisk together the flours, salt, baking powder, and xanthan gum. Then add to it the egg, apple cider vinegar, and the milk yeast mixture.
- Using a stand-alone mixer with the paddle attachment at low-medium speed or by hand, form the dough and knead it. Once the dough is combined, add in the butter and mix/knead again.
- Once the dough has come together and is smooth and sticky, transfer it to a greased bowl and cover it with a damp tea towel. Allow the dough to rise for at least two hours.
- Next, remove the dough and divide it into eight equal balls. Each ball will weigh approximately 100 grams.
- Using a rolling pin, roll each ball into a stretched oval, as seen below. The dough should have a thickness of at least 3 mm. If the dough is sticky, then sprinkle flour on your rolling surface and rolling pin.
- Then, brush the dough with garlic butter paste assuring that the garlic paste is evenly distributed.
- Then starting from the left-hand corner, gently start rolling the dough as seen below.
- Then close the two ends together by pressing on them.
- Brush each garlic bread flower with olive oil and allow them to rest for another 20 minutes.
- Preheat the oven to 180℃.
- Bake the bread for about 20-25 minutes or until the edges are golden.
Notes
- Garlic bread can be stored in an airtight container for three days in the fridge.
Rosie L says
I made these today. Loved working with this dough, so easy. Now the dough also tasted so good, but the filling seemed to soak into the dough and I couldn’t taste it, even though when I rolled them up some of them even oozed out. Any ideas how to amp it up maybe?
Aya says
Hi Rosie, I'm glad you liked the dough. To amp up the flavor, you can add a teaspoon or two of garlic powder for the filling. Also, if the dough is absorbing the filling, then brush the rolled-out dough with a bit of olive oil before applying the garlic butter paste. The oil will create a barrier between the dough and the filling. I hope that helps!
Cathleen says
Ever since getting pregnant, my body can't seem to handle gluten! This is so perfect for me because I have been getting cravings for garlic bread haha. Thanks so much for the recipe 🙂
Aya says
Thank you, Cathleen! I wish you a smooth pregnancy. <3
Alex says
That is such a great mix of flours! I just need the xanthan gum. Nothing beats warm and buttery garlic bread!
Erin says
It's been so many years since I've had garlic bread! I would so love this. Can't wait to try it!
Amy B. says
Thanks for sharing such a delicious gluten free garlic bread recipe. I love how the garlic butter is in every bite with it rolled up that way!
Aya says
Thank you, Amy!
Aditi says
Tried this bread recipe and the bread came out just perfect. Thanks for the recipe.
Aya says
Thank you, Aditi, glad you liked it!
Tammy says
I really am so impressed that these are gluten free. They look so delightful and sound delicious. I love garlic bread and definitely want to give these a try!
Anaiah says
I LOVE garlic bread! When I had to transition to a gluten free diet, I didn't think I could enjoy my favorite foods anymore. I was so wrong! This homemade gluten free garlic bread was amazing and my whole family got to enjoy it.
Aya says
So happy you and your family liked it, Anaiah!
Ramona says
I love making garlic bread and this recipe looks absolutely amazing! I am loving how cute the shape of the bread is, it looks so pretty. Thank you for sharing this recipe, I cant wait to make this soon!
Maren says
I’ve been looking for a garlic bread recipe that is gluten free! Thank you so much for sharing this!
Shobee says
Love gatlic bread, specially those homemade ones. I love how you rolled them to make this garlic bread more attractive.
Aya says
Thank you!