Kunafa (Knafeh, Kanafeh) is a sweet middle eastern dessert that consists of a crunchy top made of dough and a sweet filling.
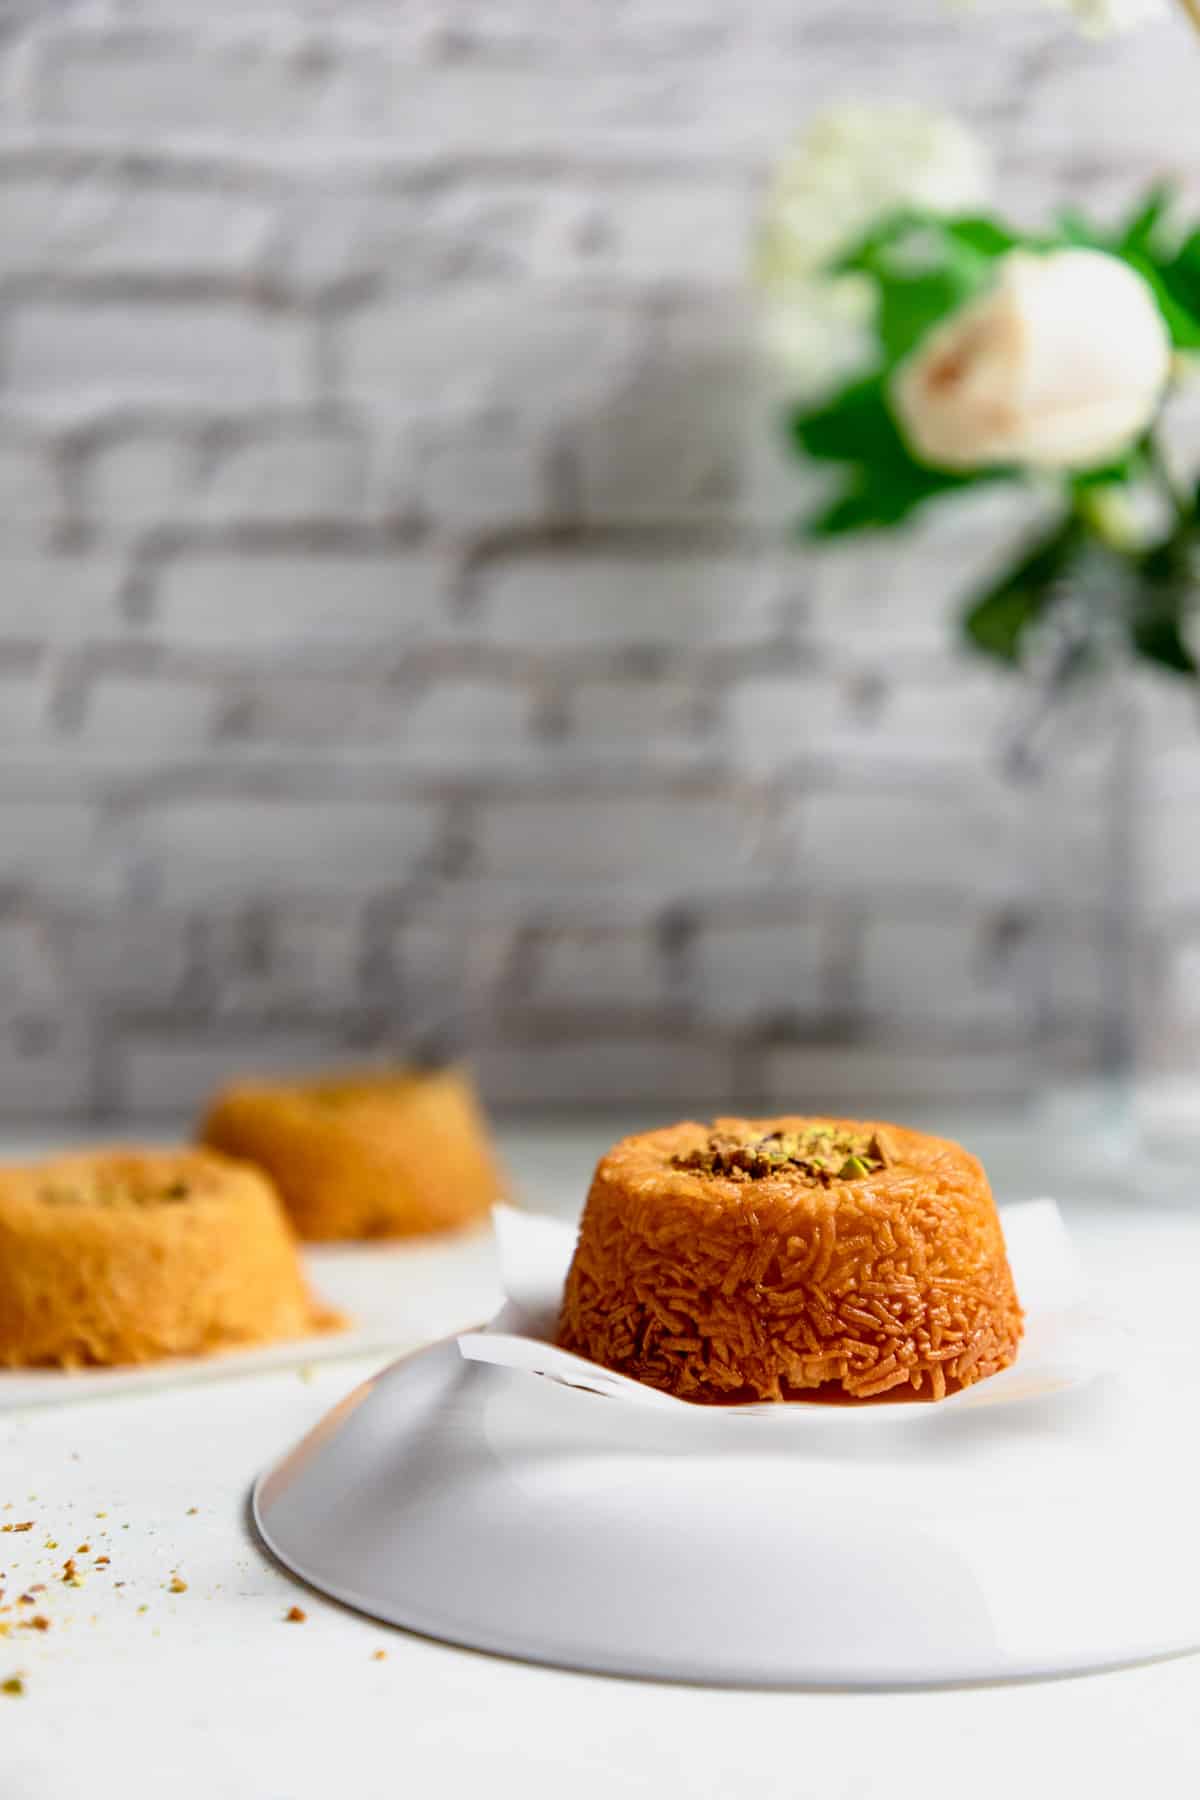
There are various types of Kunafa, and the one I’m showing you today is inspired by the Palestinian Nabulsi kunafa, which originated from Nablus, a Palestinian city. Kunafa is an all-season dessert. In the middle east, the demand for Kunafa usually increases during Ramadan, Eid, and weddings season. Unfortunately, gluten-free kunafa is not as available. Therefore, why not make our own?
Kunafa Cheese Filling
Kunafa filling dramatically depends on where you come from. The Palestinian kunafa is made with Nabulsi cheese. Nabulsi cheese is very salty, and to make it sweet, it is soaked in water for 24 hours. However, outside of Palestine and Jordan, Nabulsi cheese is difficult to find. Therefore, to substitute, you can use a mix of Ricotta and Mozzarella cheese or Sweet Akkawi and Mozzarella cheese.
Some fill their Kunafas with cream instead of cheese. I’m not a big fan of cream, but a lot of people love Kunafa with cream. If you want to fill your gluten-free Kunafa with cream instead of cheese, Amira’s pantry has a great recipe for cream filling.
For the cheese filling, the following is needed:
- 200 grams of Mozzarella Cheese
- 200 grams of Sweet Akkawi Cheese or 150 grams of Ricotta Cheese
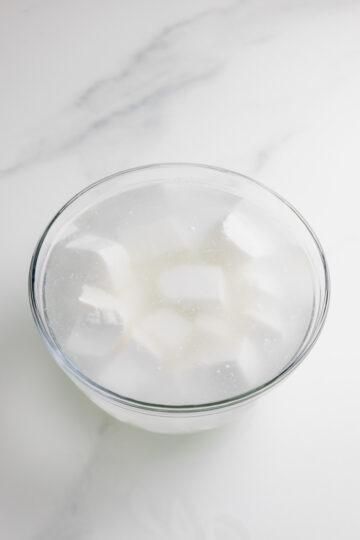
If you are using Akkawi cheese, make sure to cut it into cubes and soak it in water for 24 hours to remove the salt.
Kunafa Syrup
The Kunafa syrup is what makes Kunafa sweet. The syrup is straightforward to make. It consists of one part water and two-part sugar, with a bit of lemon juice and rose water.
Add water, sugar, lemon juice, and rose water to a saucepan at medium-low heat for 6 minutes, stirring occasionally. The syrup is ready when all the sugar has dissolved. Then, cover the syrup and let it reach room temperature before using it.
Gluten-free Kunafa Dough
Ingredients
Shredded phyllo dough is the crunchy part of Kunafa. This is the part that contains gluten in kunafa. Hence, to make gluten-free Kunafa, we have to come up with a gluten-free dough alternative. After five attempts at making gluten-free kunafa dough, I finally came up with a recipe I’m satisfied with. The ingredients you need to make the dough are the following:
- White rice flour, Tapioca flour, and almond flour: White rice flour, Tapioca flour, and almond flour will be the gluten-free flour mix for this recipe. I have tried this recipe with gluten-free flour mixes bought from the store, which does not work. The kunafa dough should become crispy when baked, and this is only achieved when you use a certain percentage of almond flour. Hence, please don’t try this recipe with store-bought flour mixes.
- Xanthan gum: The binding agent for this recipe.
- Corn Starch: Corn starch is used as a thickener. It also dries the dough when we cook it, providing it with the crunch that Kunafa is famous for. Please note that corn-starch cannot be substituted.
- Salt: For flavoring.
- Milk Powder: Flours on their own don’t taste so good. Adding milk powder will provide the dough with a subtle milk flavor that makes it delicious.
- Full-Fat Milk and Water: Traditionally, kunafa pastry is made with water only, but as I said earlier, I like providing gluten-free flour mixes with flavor. Adding milk gives the dough flavor and supplies it with some fat content, making it more stable.
- Vegetable Oil: A small amount of vegetable oil will be used as the primary fat source for the dough.
Making the Dough
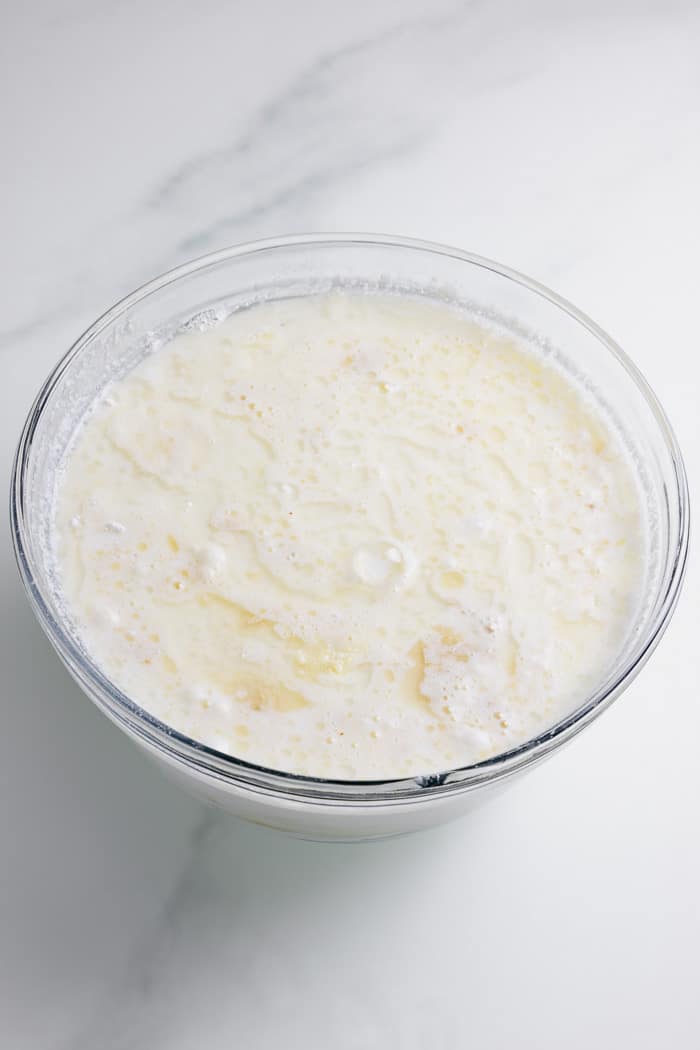
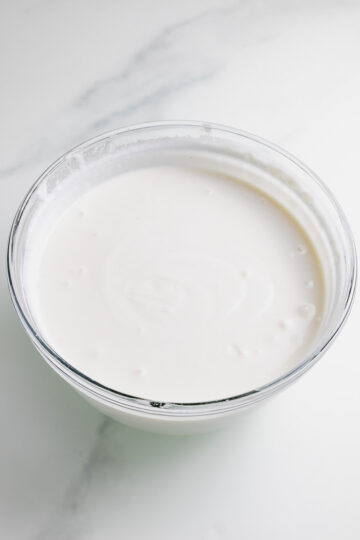
Making the dough is simple. To start, combine all the ingredients in one bowl.
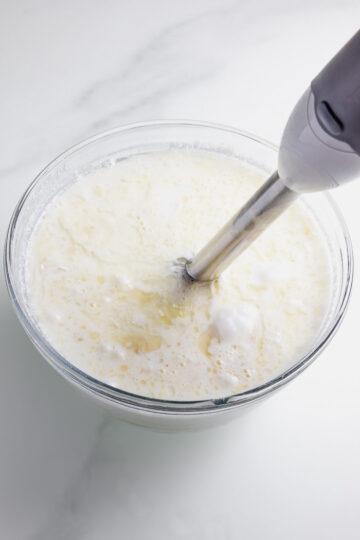
Using a hand-held blender or a stand-alone blender, blend all the ingredients together until no lumps remain. The consistency of the dough should be similar to pancake batter.
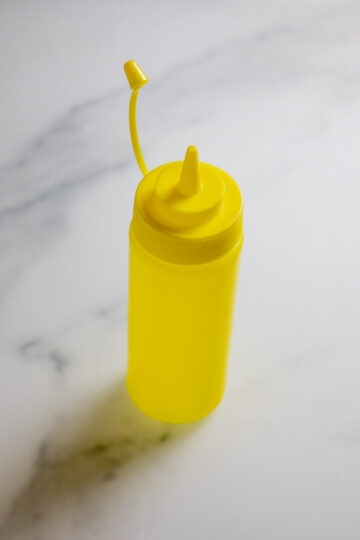
Transfer the dough to a bottle with a tiny hole. I usually use this mustard bottle. Does the job!
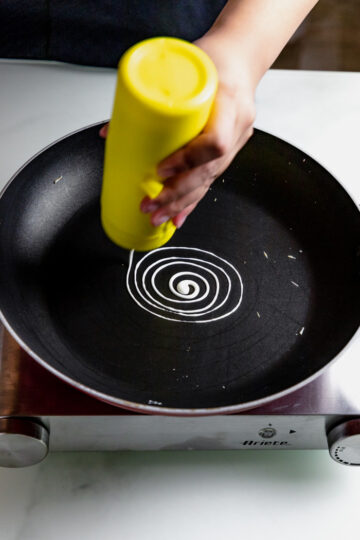
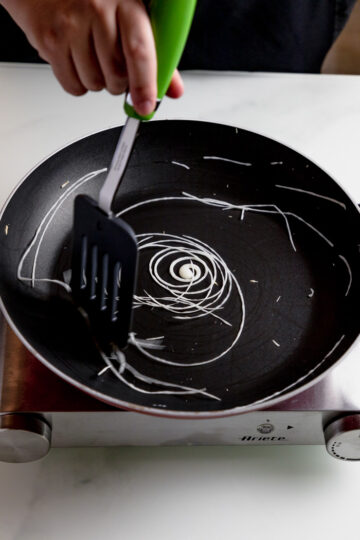
Heat a non-stick skillet at medium-low heat for 5 minutes. Then using the bottle, make a spiral with the batter.
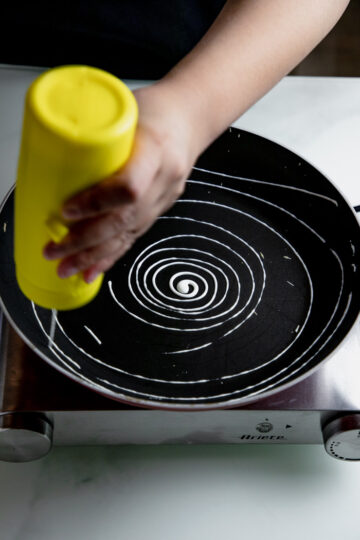
After about 10 seconds, the batter will start to peel by itself. This means that the dough cooked. Using a spatula, collect the spiral and transfer it to a clean plate. Then remove the middle dot created at the center of the spiral and throw it away. We don’t need it.
Keep making spirals until you are out of dough. This is my final result.
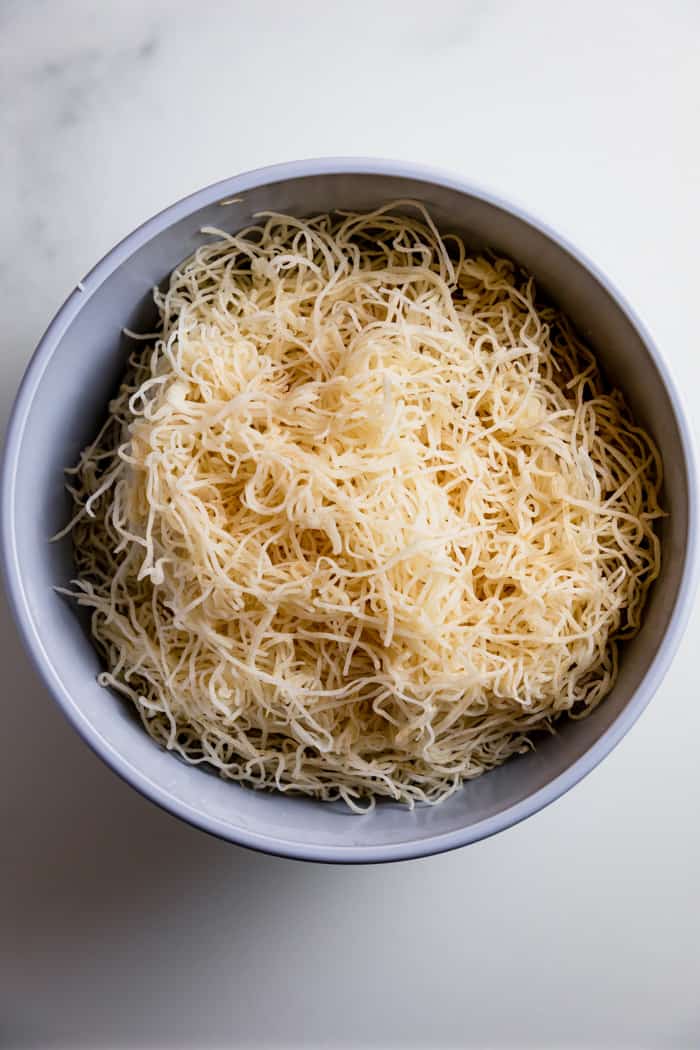
The recipe I provided should make 400 grams of Kunafa dough. Enough for two 9” cake pans or 9 pieces of mini-kunafa made in a standard cupcake tin.
The cooked Kunafa dough can be stored in the fridge for up to 3 days, or it can be stored in the freezer for up to 6 months.
Making the Kunafa
Mini-kunafa is more convenient for small families. However, the kunafa recipe card below will also contain a 9-inch cake pan option.
Preheat the oven to 180℃
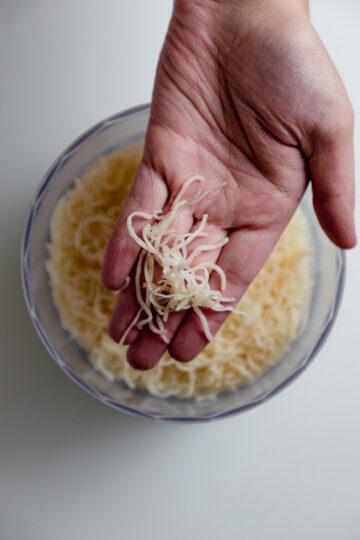
To start, shred the kunafa dough to 2.5 cm in length using a food processor or a knife.
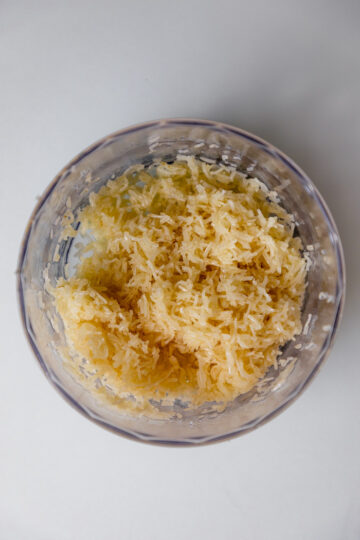
Then add the sugar, butter, and ghee to it. Rub the shredded dough with your hand and make sure that all kunafa strings are well coated with butter and ghee.
Coat a cupcake tin with butter to prevent the kunafa from sticking to it when baked. Then, add a bit of kunafa pastry and shape it around the cupcake tin. Ensuring that all areas are covered and that the pastry is well pressed at the bottom and the corners.
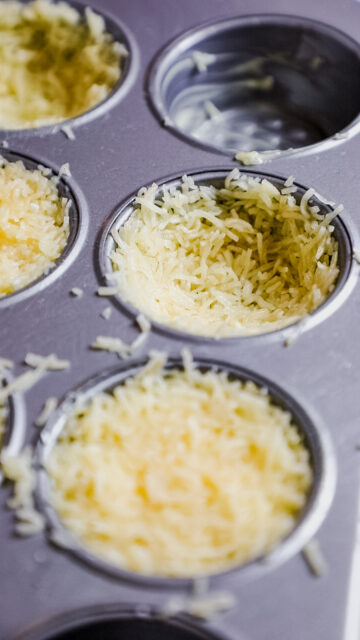
Then fill the kunafa cup with cheese to the top and press it lightly to pack it.
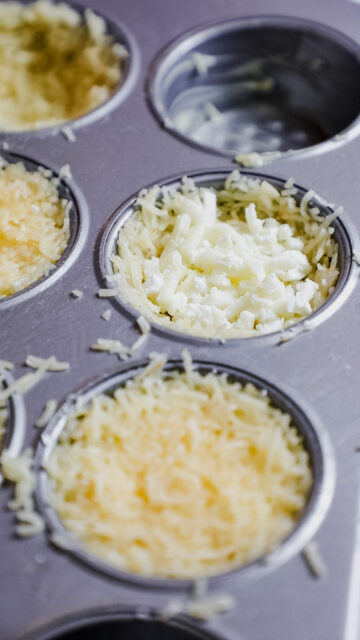
Next, add a small amount of kunafa pastry to the top of the cheese and press lightly to cover the cheese and secure the edges.
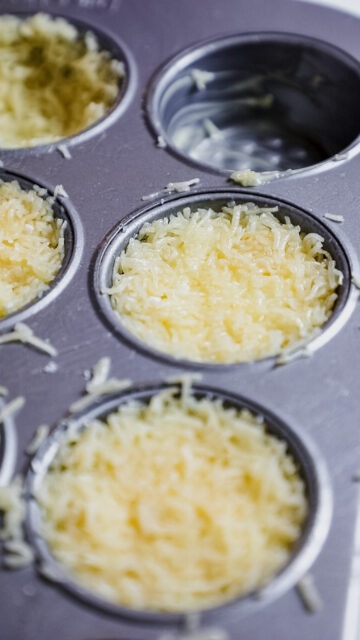
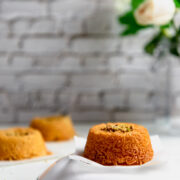
This kunafa recipe should make about 9 pieces of mini-kunafa.
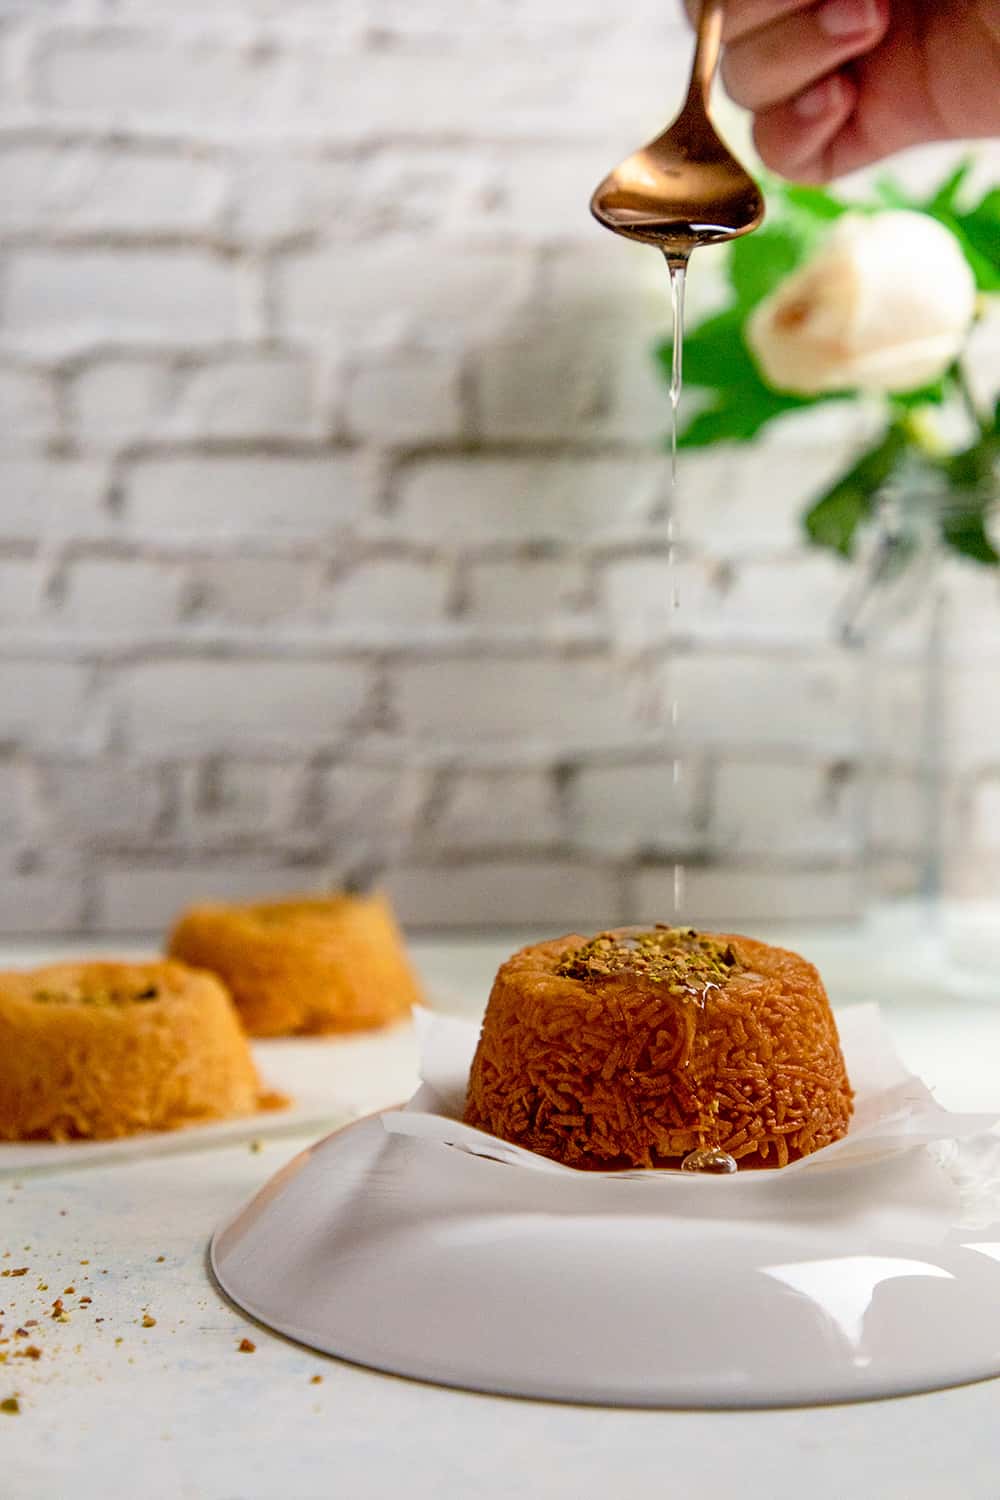
Bake, the Kunafa for 17-20 minutes or until the edges, are golden. Once baked, remove the kunafa from the oven and allow it to cool for five minutes before flipping the cupcake tin. Once, flipped add the kunafa syrup to the top of the kunafa and serve it warm.
More Middle Eastern Recipes
Gluten-Free Kunafa (Knafeh) with Cheese
Ingredients
Cheese Filling
- 200 grams of Shredded Mozzarella Cheese
- 200 grams of Shredded Akkawi Cheese or 150 grams of Ricotta cheese
Sugar Syrup
- 112 ml of Water
- 225 grams of Granulated Sugar
- 1 teaspoon of Lemon Juice
- 1 teaspoon of Rose Water
Kunafa Dough
- 100 grams of White Rice Flour
- 60 grams of Tapioca Flour
- 40 grams of Almond Flour
- ½ teaspoon of Xanthan Gum
- 100 grams of Cornstarch
- 15 grams of Milk Powder
- ½ teaspoon of Salt
- 250 ml of Full-Fat Milk
- 250 ml of Water
- 60 ml of Vegetable Oil
Others
- 100 grams of Ghee (melted)
- 100 grams of Unsalted Butter (melted)
- 2 tablespoon of Granulated Sugar
Instructions
Cheese Filling
- If using Akkawi cheese, cut it into cubes and place it in cold water. Leave it in water for 24 hours. Ensure that you change the water at least six times during the first 12 hours. After 24 hours, the cheese should be sweet and not salty to taste.
- Mix the cheese together in one bowl. Then cover and set aside for later.
Sugar Syrup
- In a medium-sized saucepan at medium-low heat, place the sugar, water, lemon juice, and rose water. Cook the syrup for 6 minutes, stirring occasionally. Once the sugar is completely dissolved, remove the syrup from heat.
Kunafa Dough
- Place all the ingredients in one bowl. Then using a hand-held blender or a stand-alone blender, blend the ingredients until well incorporated and no lumps remain.
- Transfer the kunafa dough batter to a bottle with a small nozzle. I used the standard mustard squeeze bottles. (see above)
- Next, using a medium-sized skillet at medium-low heat, make a spiral using the kunafa batter.
- The dough will start to dry and peel after 10 seconds. Immediately, using a spatula, collect the kunafa dough and place it on a clean plate. Then remove the middle dot formed at the center of the spiral and throw it away. Repeat until you are out of batter.
- In a food processor, shred the kunafa strings to a length of 2.5 cm.
- Next, add ghee, butter, and sugar to the kunafa strings and rub the strings between both of your hands until all strings are covered with butter and ghee.
Making Mini-Kunafa
- Preheat the oven to 180℃
- Grease a cupcake tin with butter. Then take two tablespoons of kunafa strings and press them around the sides and middle, forming a cup. Make sure that the strings are compacted well.
- Next, add cheese to the kunafa cup and press it down firmly.
- Then cover the cheese with more kunafa strings and lightly press on it to secure it.
- Keep repeating steps 2 to 4 until you have about 9 pieces of mini-kunafa cups.
- Bake, the mini-kunafa for 17-20 minutes or until the edges are golden.
- Once baked, allow the kunafa to cool down for 5 minutes before flipping the cupcake tin.
- Add the syrup to the kunafa once flipped and serve while it is still warm.
Making A Standard Kunafa
- Preheat the oven to 180℃
- Grease a 9-inch cake pan with butter. Place half the amount of Kunafa pastry at the bottom of the pan and gently press on it.
- Bake the Kunafa for 10 minutes, then remove it from the oven and add half the cheese. Don’t add cheese to the edges.
- Bake the Kunafa again for another 15 minutes or until the edges are golden. Then, let the kunafa rest for 5 minutes before flipping the cake pan.
- Afterward, add the syrup to the kunafa and serve while it is warm.
- This recipe makes two 9"-inch kunafa.
Notes
- Cooked Kunafa dough can stay in the fridge for up to 3-days. It can also be stored in the freezer for up to 6 months. To use the dough, take it out of the freezer the day before and allow it to defrost in the fridge.
- Kunafa is best served when it is warm. However, for kunafa left-overs, you can store them in the fridge for up to two days and heat them up in the oven before serving.
Amanda says
This was such a fabulous dessert! I just loved the contrast of the creamy filling with the crunchy outside, and it was really fun to make.
Kayla says
I have never had kuafa before but I am always trying to open my eyes to new cultural recipes. This was delicious!
The Sudden Cook says
Wow thanks for the insight! The photos are lovely!! Would love to try these someday
Jean says
I love eating this! One of my faves thanks for the recipe. Always wanted to try making my own.
Kristy says
What an interesting sounding dessert, thanks so much for sharing!
Renee says
Wow, I've never seen anything like this before. It sounds absolutely amazing
Aya says
Thank you so much, Renee! It is one of the most loved desserts in the middle east. ☺️
Christy Faber | Life Around the Table says
I had never heard of this before! Thankfully you explain it so well that I don't feel intimidated at all! Such a cool concept the way the batter is baked in swirls on the pan! I love learning about new foods, so inspiring. Thank you
Aya says
Thank you for the kind comment, Christy! I love learning about new foods as well! 😊
Sadie says
This looks so awesome! I am excited to try it.
Aya says
Thank you, Sadie! I hope you like it! 😊